Welcome to Slotify! Our free scheduling platform empowers businesses and developers to create custom scheduling solutions effortlessly.
This guide will help you get started with Slotify’s account setup, guiding you through everything from initial configuration to exploring powerful appointment management features designed to streamline booking and scheduling.
Step 1: Setting Up Your Account
- Creating an Account: You can create an account using your email address or sign up with your Google or Microsoft account for easy access. Once you’ve signed up, check your email to verify your account, and then log in to start using Slotify.
- Email Verification: Once your account is created, you will get a welcome email in your inbox. Click on the verify link to verify your new account.
- Logging In: Once you are verified, you can now login to Slotify using the Login Link.
Step 2: Navigating the Dashboard
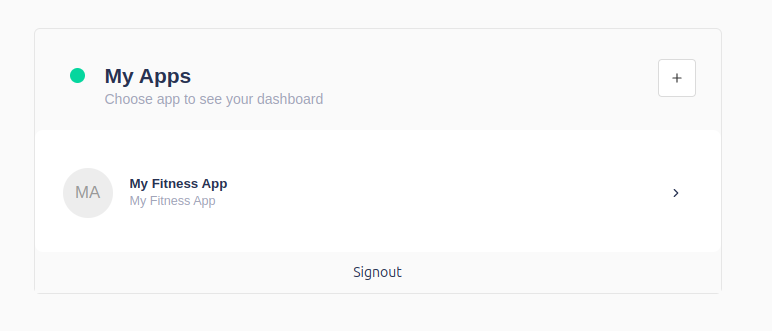
Once you login to Slotify, you will be redirected to apps landing page to create your first app to get started with Slotify. Simply provide an app name and slug to uniquely identify your application.
Once your app is created, you will be redirected to your dashboard. On your dashboard, you will see following menu items:
- Bookings: This is where you will create your new bookings internally.
- Customers: This is where you will manage your clients or customers.
- Resources: This is where you will add your employees or resources.
- Workflow: This is where you will define workflows i.e. booking reminders or webhooks flow
- Schedulers: This is where you will define how your bookings will be created, event settings, resources etc..
- Integration: This is where you will enable or disable third party integrations or Slotify add-ons.
- Reports: This is where you will see your basic booking reports.
- Feedback: If you want to contact us for any reason this is where you can submit your requests.
Step 3: Creating Your First Booking
In order to create bookings, you need to understand that bookings depend on two items:
- Resource
- Scheduler
Before You Start: Create Resources
Creating resources is the first step before setting up a Scheduler and making bookings. Resources are essential elements like staff members, rooms, or equipment that will be assigned to bookings.
Here’s how to set them up:
- Navigate to Resources:
- Go to the Resources menu item in the Slotify dashboard.
- Add New Resources:
- Click on “Add Resource” to start creating your first resource.
Next, you need to set up a Scheduler. The Scheduler helps define your availability and booking preferences and ensures that your bookings align with your business needs. Here’s how to set it up:
- Create a Scheduler:
- Availability Settings: Define the availability settings, such as:
- Buffer Time: Set buffer times before or after bookings to prevent back-to-back appointments.
- Duration: Choose how long each appointment will last.
- Minimum Cancellation or Booking Notice: Set rules for how much notice is required to book or cancel an appointment.
- Timezone: Specify the timezone for your availability.
- Availability Settings: Define the availability settings, such as:
- Add Resources:
- Assign Resources: Add resources (e.g., staff, rooms, equipment) who are available to take bookings. This ensures that the right resource is available for each appointment type.
- Define Customer Fields:
- Custom Fields: Set up custom fields to capture important information from your customers during the booking process, such as contact details or specific requirements.
- Prefill Meeting Details:
- Meeting Topic and Location: Specify default meeting topics and locations to streamline the booking process. This can be particularly useful for standardizing recurring appointments.
This approach ensures that your scheduling process is fully aligned with your business requirements and offers a customized booking experience for your customers.