Webhooks are a powerful tools for automating and integrating Slotify with your other systems. By setting up webhooks, you can receive real-time notifications whenever certain events occur within Slotify, such as when a booking is created, updated, or canceled.
This guide will walk you through the steps to set up and manage webhooks in Slotify.
How to create a webhook:
- Login to Slotify: https://app.slotify.ca/login
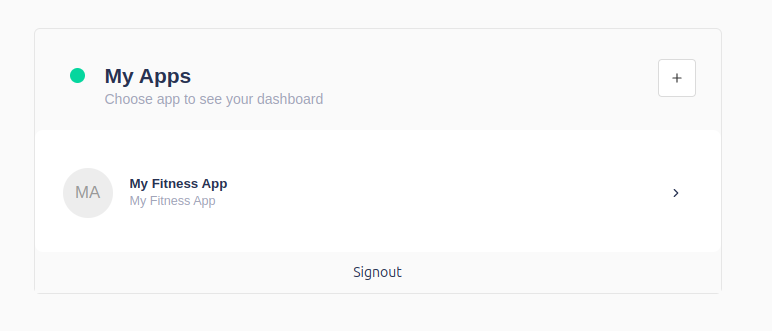
- Once you login, select your app from the list of apps.
- Click on Workflow menu item from left sidebar.
- It will take you to the Workflow landing page where you can see Add Workflow button.
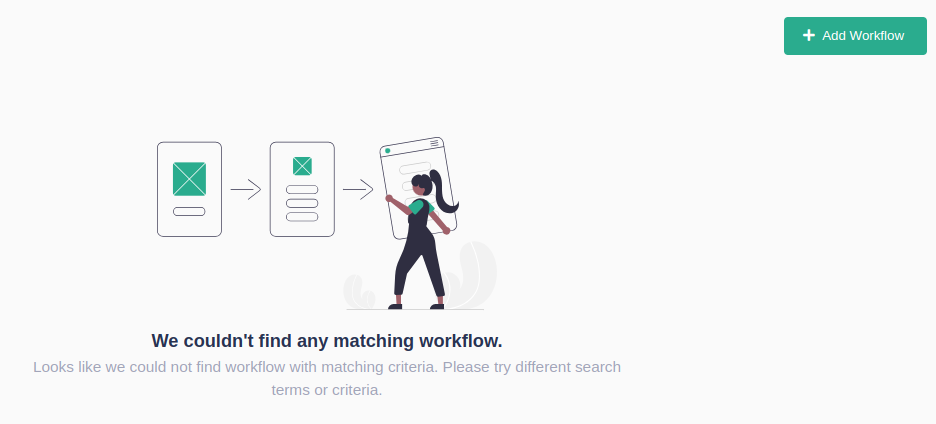
- Click on the Add Workflow button on top right.
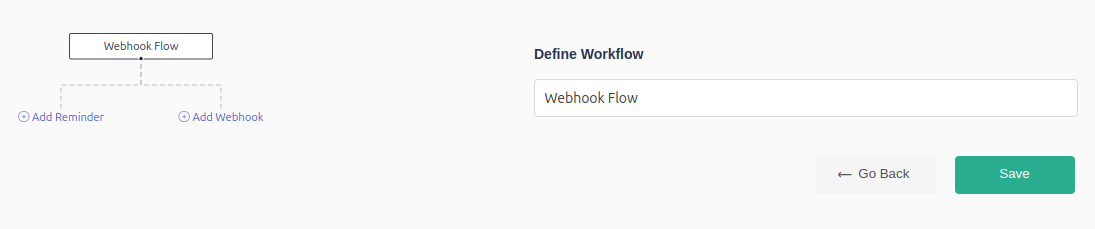
- You will see the add workflow page as seen below. Provide a title for your workflow and click on Add Webhook button from the chart.
- Once you click on the Add Webhook link, a new section will open up on right side as seen below:
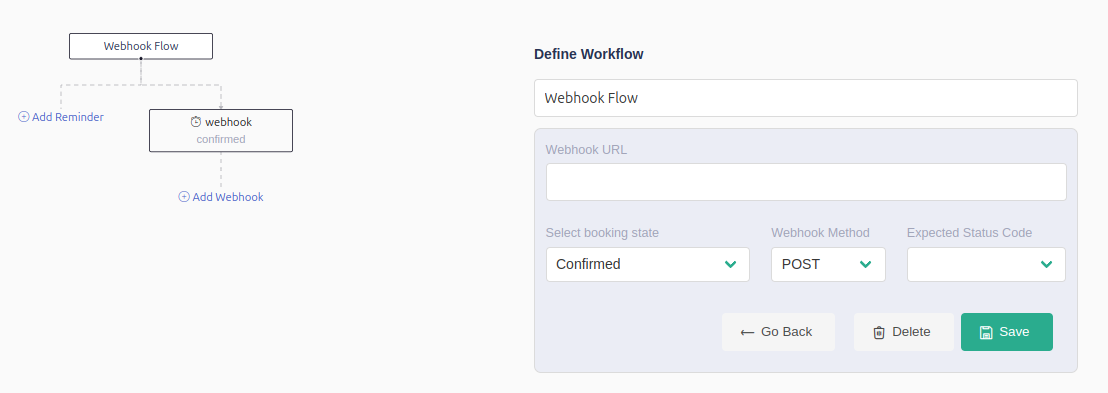
- Now, provide all the mandatory information for your webhook:
- webhook url
- booking state
- method
- expected status code
- Once you provide all these details, click on the save button to save the webhook. A workflow can contain many webhooks, so if you need more webhooks, just click on the Add webhook button again.
- Once the webhooks are created under Workflow, you can use this Workflow in your scheduler and start receiving your webhook notifications.
Add Workflow to Scheduler:
- Once you have created a Workflow, you will need to add it to a Scheduler.
- Login to Slotify Admin.
- Go to the Schedulers menu item from the left navbar.
- Edit your Scheduler and select the created workflow from the Select Workflow dropdown menu item.
- Once the Workflow is selected, click on the Save Changes button. Now, anytime a new booking is created using your scheduler, you will start receiving your webhook notifications.
Setting up webhooks in Slotify allows you to automate your workflows and integrate Slotify with your existing systems seamlessly. Follow these steps to create and manage webhooks effectively.
If you have any further questions or need assistance, please contact our support team.